
Kodak Gold 200 Test & Reviw
A cheap 35mm film, with nice characteristics.
The Kodak Gold 200 is a 200 ASA/ISO film, manufactured by Kodak.
The film was originally introduced in 1997 and was reintroduced or renewed in 2007.
Kodak Gold 200 was designed to be used in Daylight or with electronic flash.
It is available with 24 or 36 exposures, in single, double and triple packs.
Get some Kodak Gold here! Advertising
Tech. specs
- 35mm film
- ISO/ASA 200
- 24 or 36 exposures
- c-41 process film
- warm colors
- daylight balanced
Daylight balanced, what does it mean?
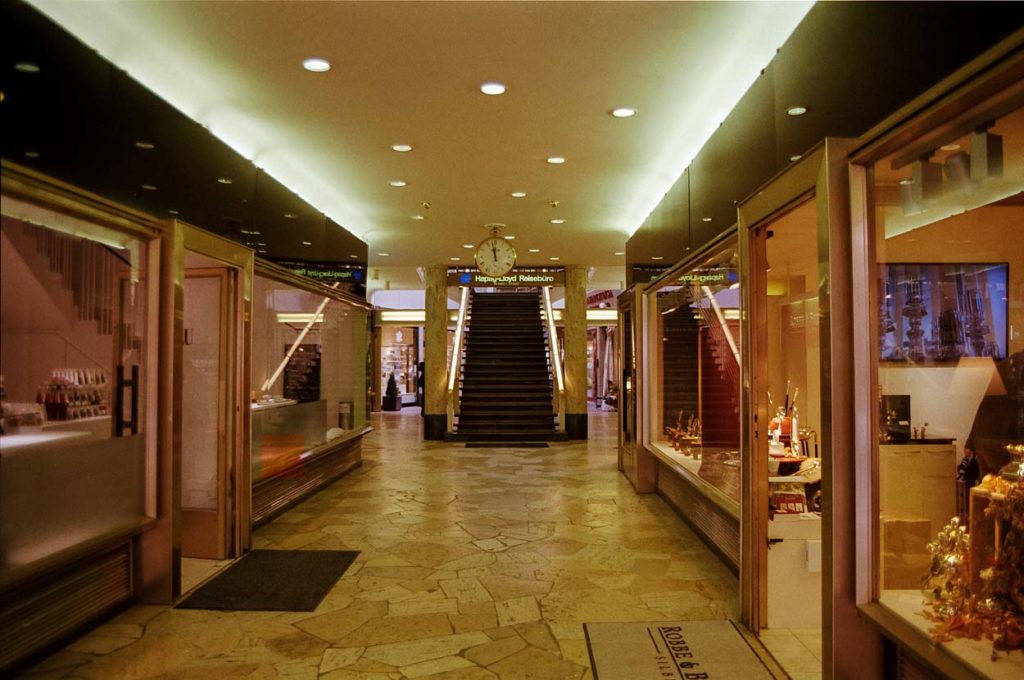
Kodak Gold 200 shot in a mix of tungsten and flourescent light.
As already mentioned, the Kodak Gold 200 is a daylight balanced film.
That means it has to be used in Natural light during day time or with a daylight balanced flash (around 5500 Kelvin). Using the film indoors with tungsten lights (around 3200 Kelvin) will cause some heavy yellow tones in the image. which most of the time does not look nice.
You could shoot the film in tungsten light but you would have to use a blue filter (No. 80A) to counterbalance the yellow light.
What is daytime?
According to Kodaks data sheet, daytime is two hours after sunrise until two hours before sunset.
Colors & dynamic range.
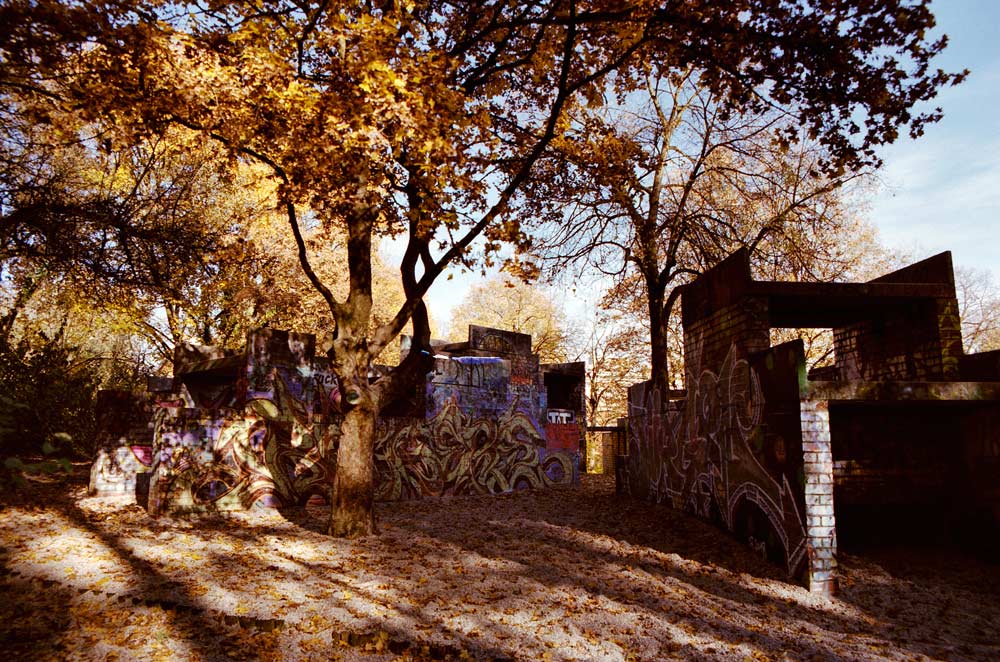
The colours of the Kodak Gold 200 have a very nice and warm touch. It represents yellow, orange and blue colours very well. In my opinion, the film has nice colours in general.
The dynamic range is absolutely ok for a consumer grade film. In some very contrasty scenes, it tends to lose shadow details very quickly.
Scanning
The film has (if handled the right way) great scanning capabilities.
It does show soft to medium strong grain.
One of the biggest problems during scanning is colour casts. In my case and also in case of other users, the film showed a really strong magenta colour cast.
Using the Auto Color Cast Correction (CCR in silver fast), corrected the film tho death. Means it took out all characteristics of the film and really neutralized everything. That’s why I decided to correct the colours by hand.
I used the Film profile for Kodak gold, kept all the magenta colour casts in the image, opened it up in PS and used a colour balance layer to correct the colours.
My goal was to correct them to a point where the film has as less magenta as possible, but without destroying the feeling of the film. In some images, I kind of liked the colour cast cause it added to the look. but for consistency, i edited them all.
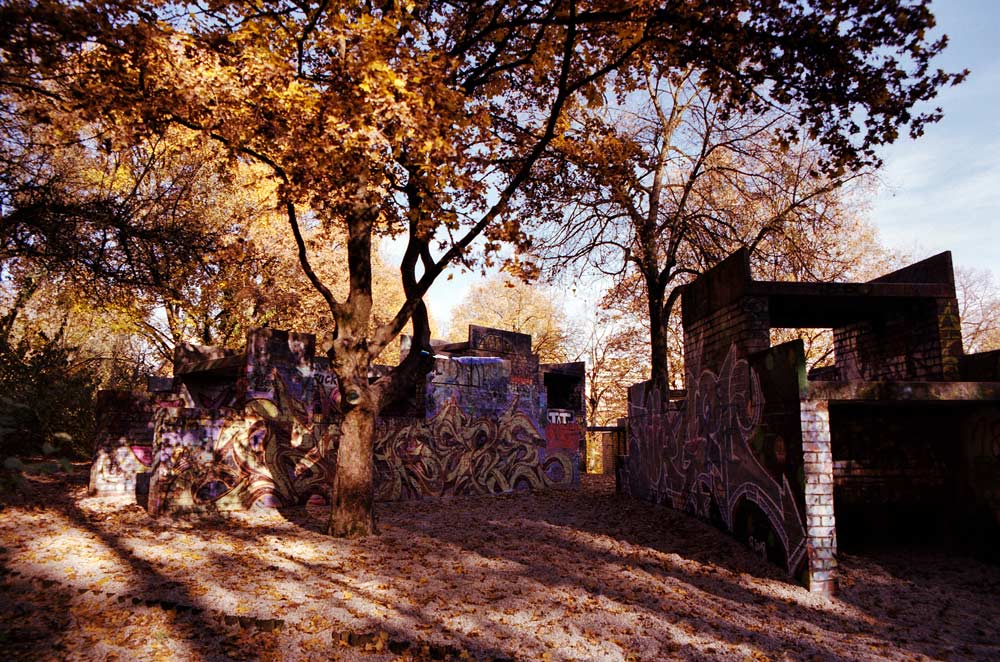
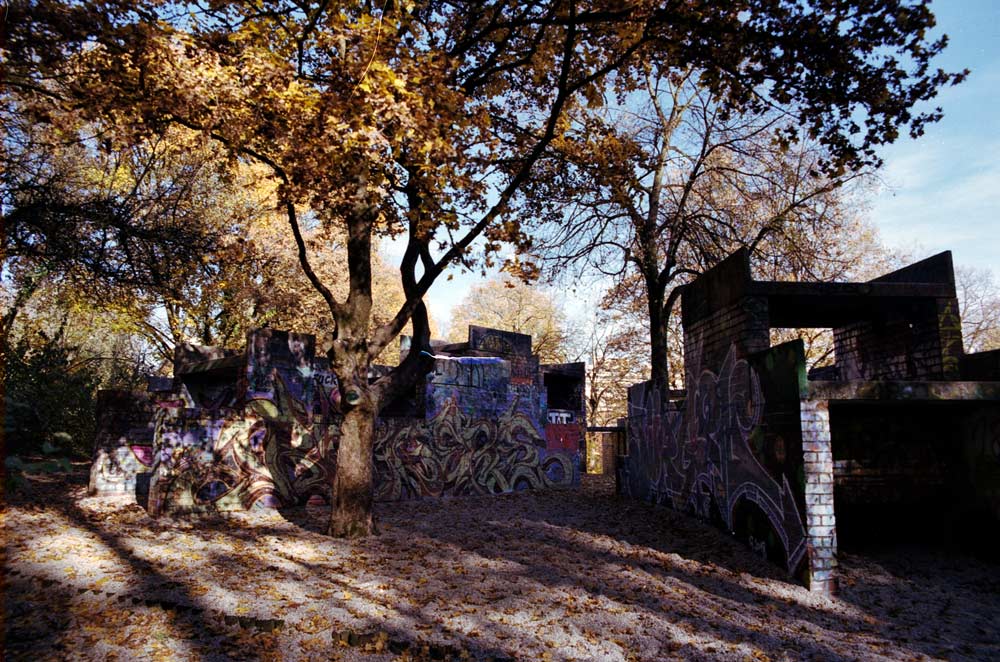
In the next pictures, you find some before and after images. On the left is always the original and on the right there is the correction.
My Photoshop Settings


Typical mistakes, made when using Kodak Gold.
Typical mistakes made with Kodak Gold 200 are:
- Shooting in Tungsten Light: The film will look by far to warm an not really pleasing anymore
- Using it in fluorescent light: Kodak Gold 200 will get heavy green casts.
- Shooting in too dark situations: the film will lose shadow details quickly and introduce more grain.
Some usefull links
Sample images
Here you find some example images, taken with Kodak Gold 200.
Scanned with SilverFast 8, colourcast corrected by hand.


Leave A Comment