
Converting color negatives to positives. Without Plugins.
Two simple ways to convert your negatives without waisting time and money.
Most people convert their negatives during the scan process using programms like Silverfast or Vue scan.
But what if you don´t have a film scanner? or what if you are simply not satisfied with the
Results of the premade film Profiles?
This article will answer all your questions.
Does this work with DSLR scans.
Yes!
The methods i am going to show you will work absolutely well with your DSLR scans.
I would say even better then expensive Plugins.
Please note! Method number two is shown in the Video only!
Do i have to remember all the steps?
No and yes!
No because i provide you with a free action for download, which will take a way a big part of the work of converting your negatives to
positives.
Yes, because I think it is alway better to really understand what you do, so you can manipulate and alter the methods to your needs.
Method one
Let´s start right in with method one.
Methode one is a method that takes a little bit longer for converting your negatives into positives. But at the same time, often gives you
a better starting point for complicated images. For example: If you have an image without clear white point or without a neutral gray subject in it, this method gives you the better results, from where on you can work on your images.
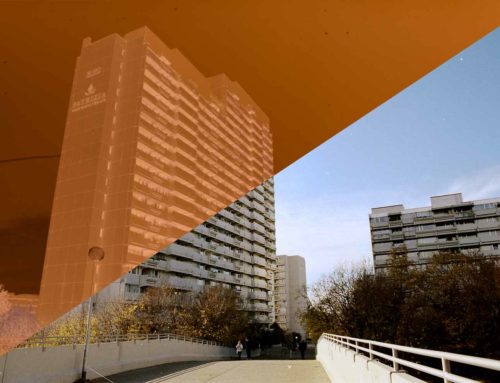
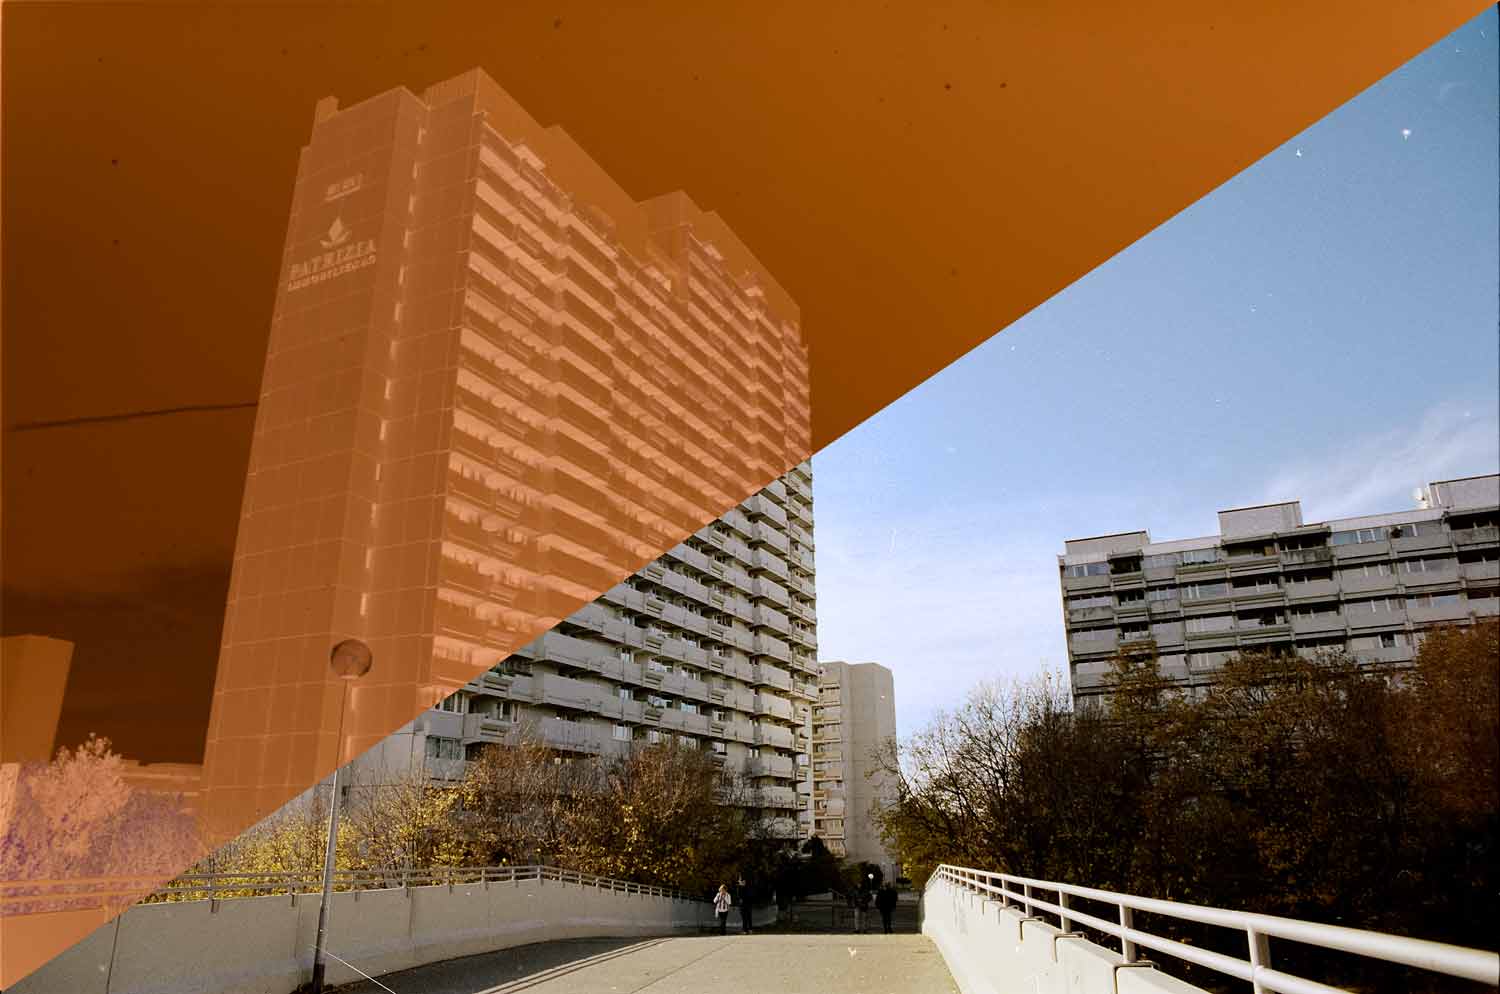
Removing the orange mask from the negative.
- Duplicate your Background layer (just for the case).
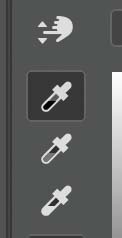
- Take your eyedropper tool and sample the color of the orange mask. Make sure it´s sample average is between 5×5 and 11×11.
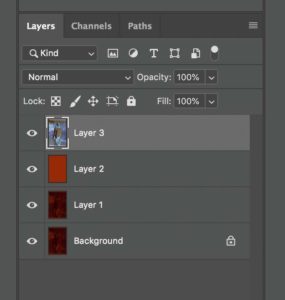
- Create a new empty layer.
- Fill the empty layer with the just sampled foreground color (color of the orange mask)
- Set the blend mode of the layer to “divide”
You just perfectly removed the orange mask from your negative.
- now hit cmd (ctrl) + alt (option) + shift + E to create a new merged layer.
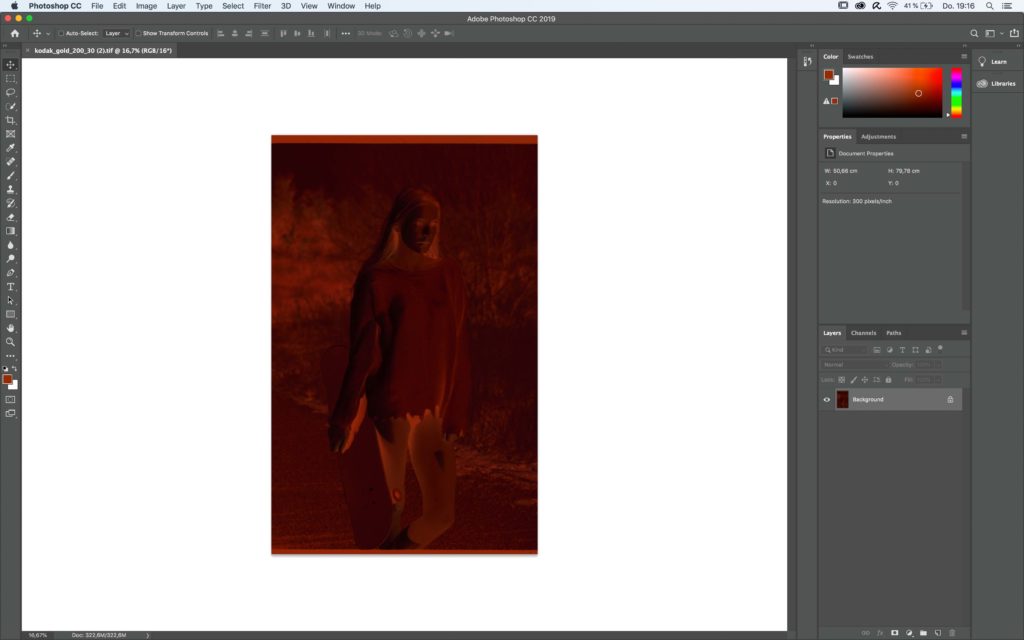
Original
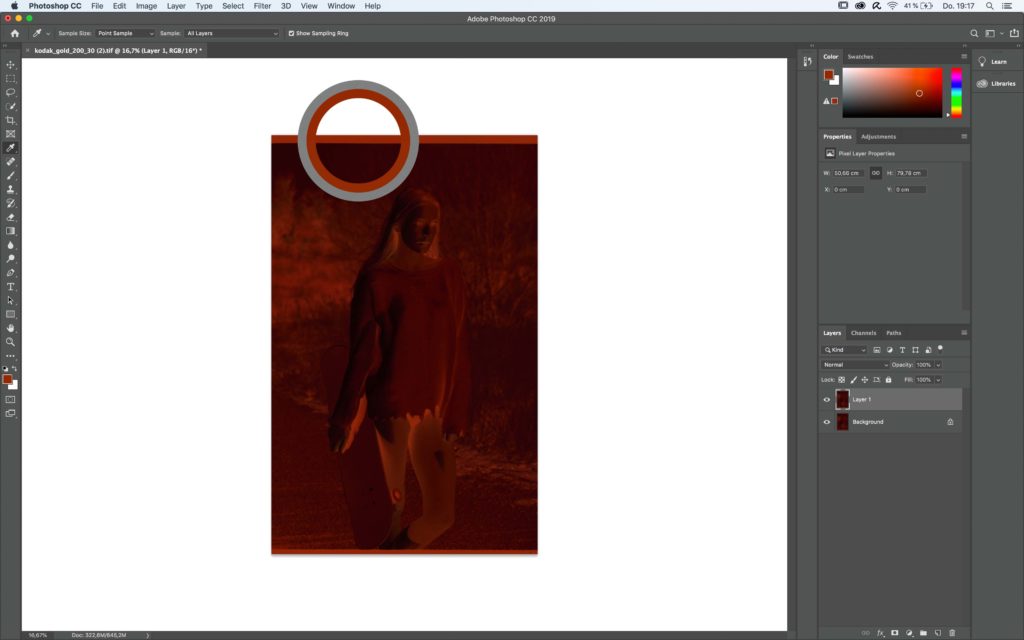
selecting the orange mask
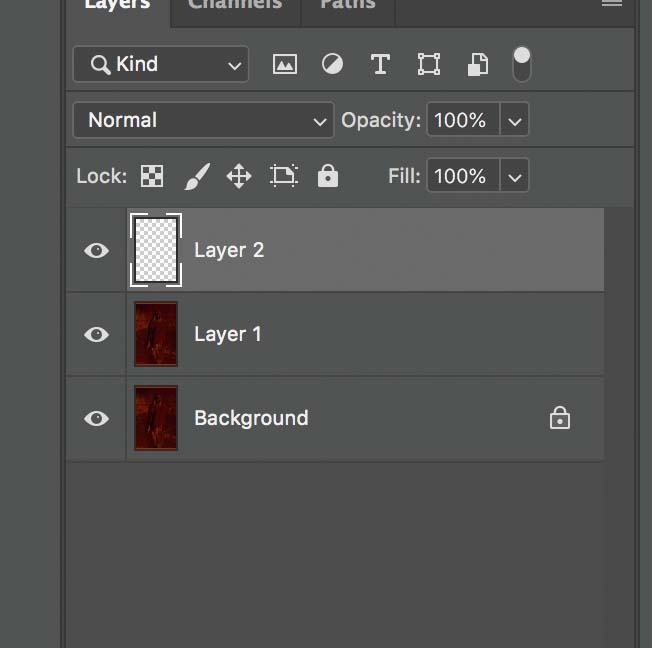
creating an empty layer
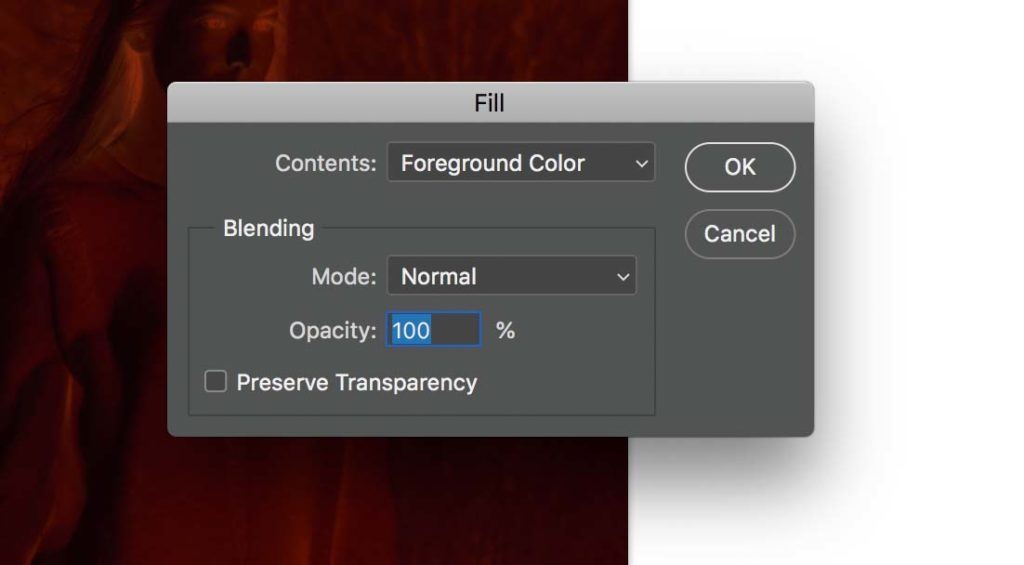
filling layer with foreground color
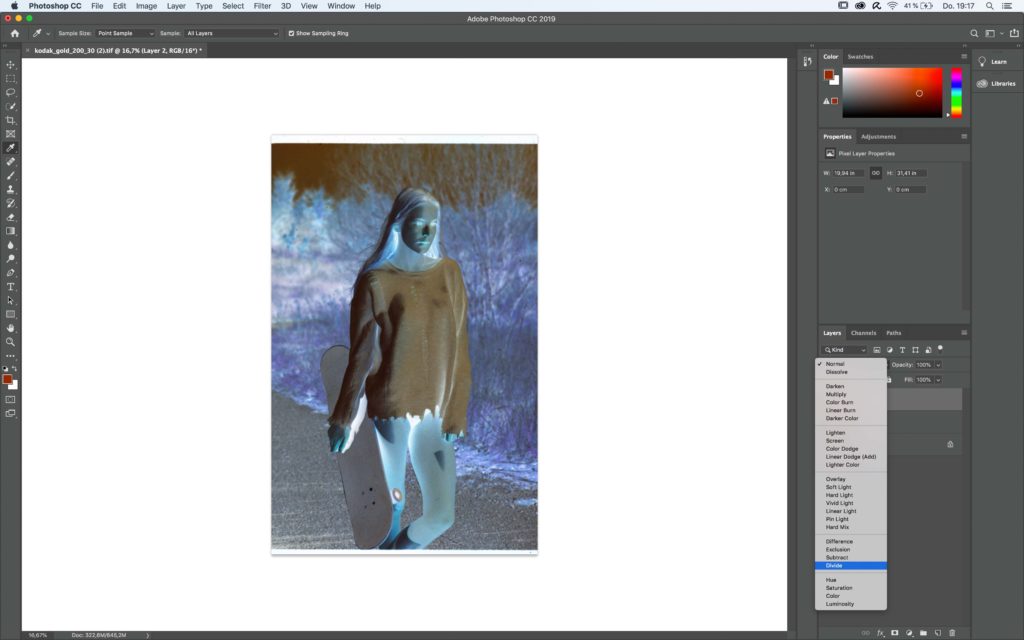
changing blendmode to “divide”
create new merged layer
Making it positive and set the black point.
Now that we removed the orange mask of the color negative and created a merged layer, it is time to invert the just created image to a positive.
- select your merged layer and hit cmd(ctrl) + i, to invert the image.
the next thing we are going to do is setting the black point.
- create a new levels adjustment layer
- choose the black eyedropper tool and sample the dark boarder of the image as your black point.

invert merged layer
create a new curves layer and sample the black boarder of the image as black point.
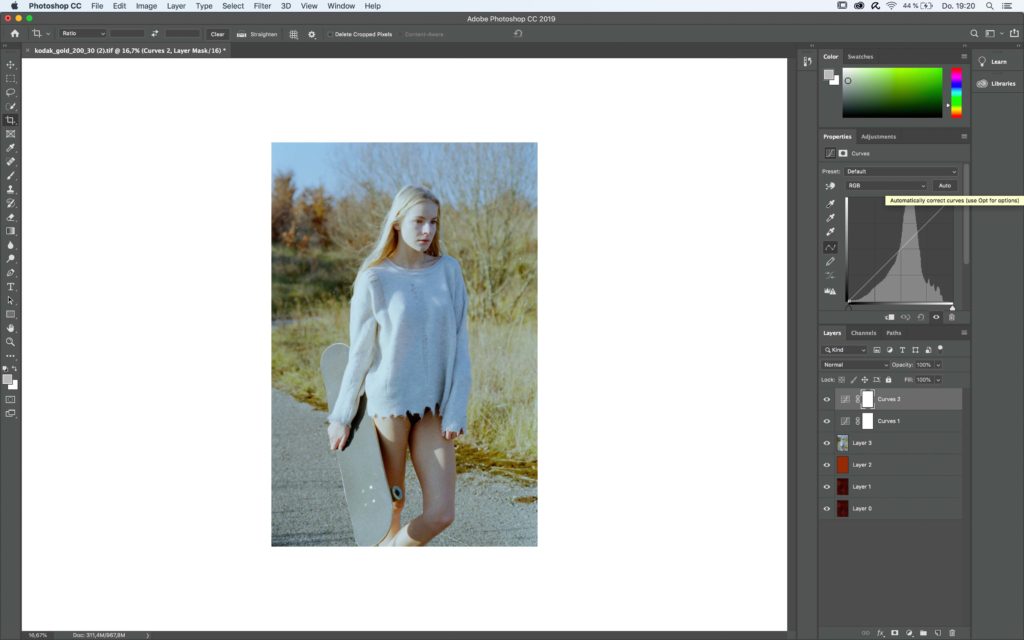
Let the magic happen.
At this point we are using a tool hidden in the curves adjustment layer, that will help us to further enhance our image.
This is the same tool, that most of the plugins you buy will use for their work.
The so called “Auto Color Options”.
- Crop away the black borders of the image
- create a new curves layer
- hit the alt (option) key on your keyboard and press “Auto” on the curves adjustment panel.
Now the Auto Options will appear. - choose “enhance per chanel contrast” or “find dark and light colors”. If image has a storng color cast also choose “snap neutral midtones”
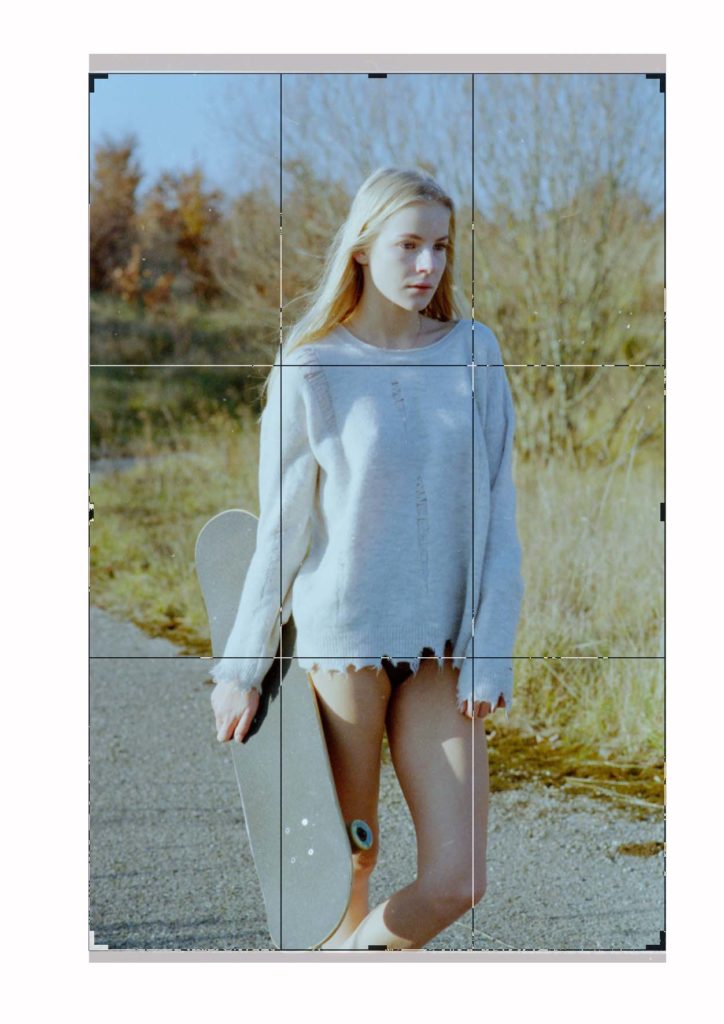
crop the black borders of the image away.

create levels and use “auto color corection options”.
hit “alt” on your keyboard and press “Auto” on the levels layer.
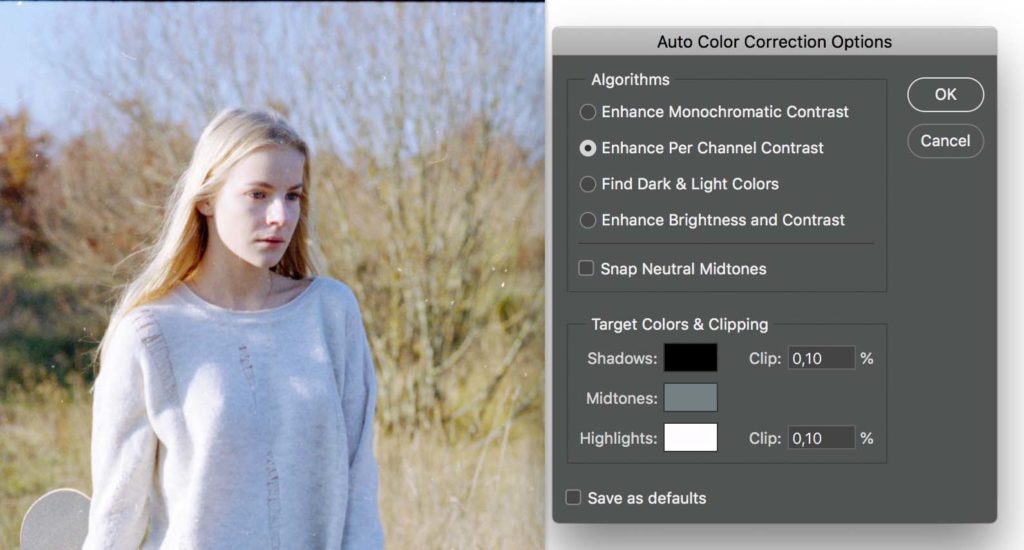
choose “enhance per chanel contrast” or “find dark and light colors”. If image has a storng color cast also choose “snap neutral midtones”
Final enhancements
After applaying the Auto color correction options, you can apply further enhancements to your image.
in our case we will use some Color Balance layers and alter the Midtones and shadows.
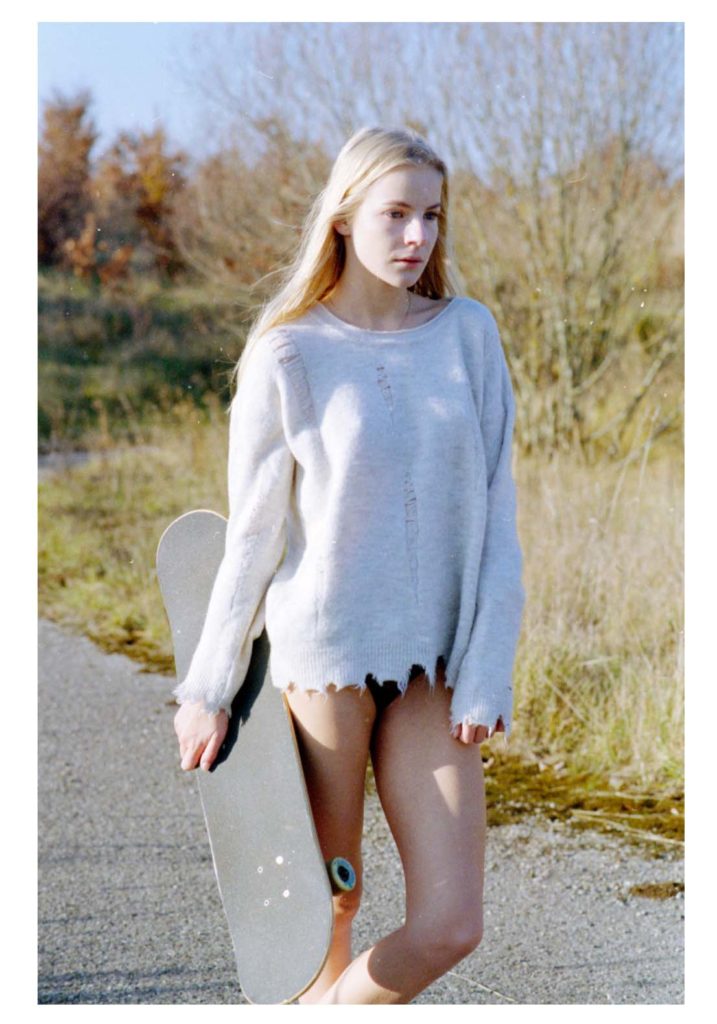
Result of auto color cast options
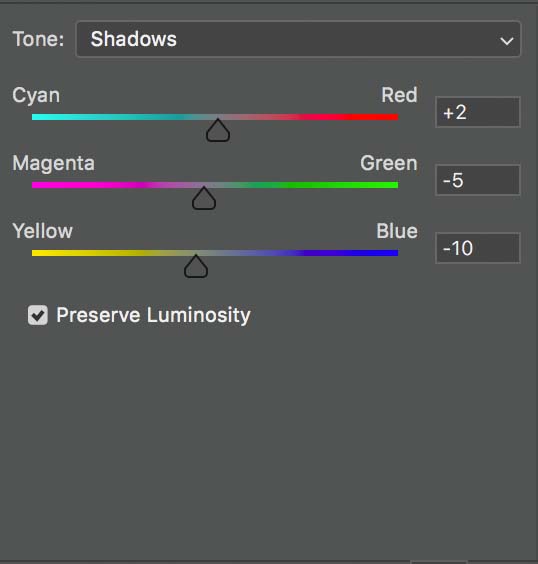
Further enhance your image by altering color balance to your taste.
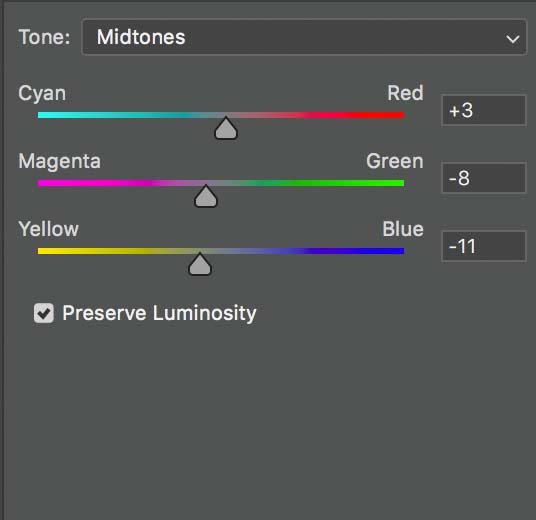
Further enhance your image by altering color balance to your taste.
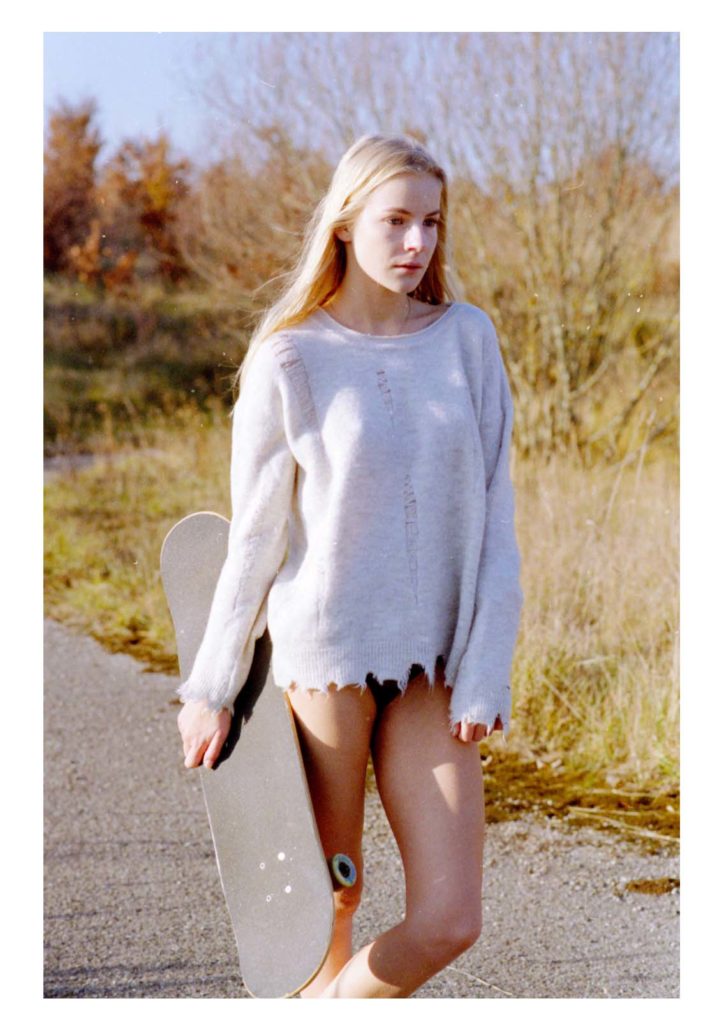
Final result
Leave A Comment